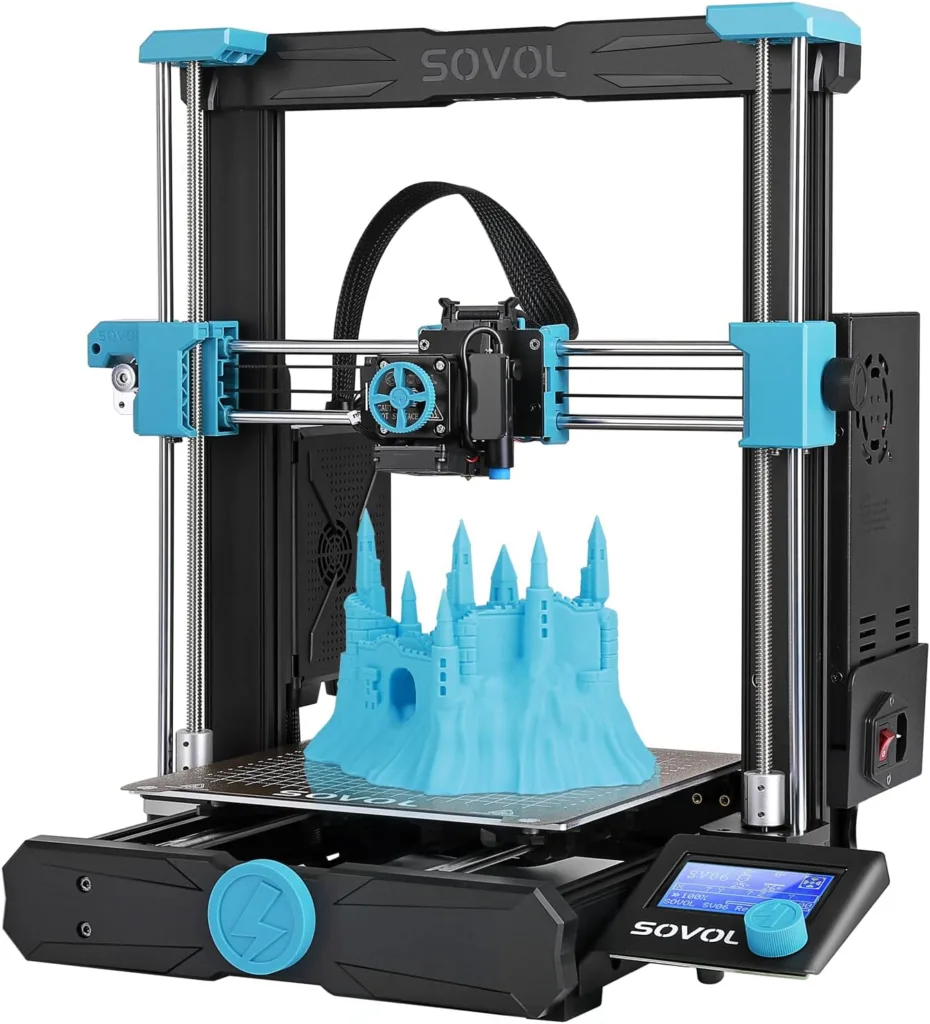
With the rise of desktop manufacturing, 3D printing has revolutionized how designers, engineers, makers, and hobbyists bring digital ideas into the physical world. Whether it’s prototyping a product, creating architectural scale models, or fabricating mechanical parts, SketchUp for 3D printing provides a simple yet powerful platform for turning 3D concepts into printable reality.
However, SketchUp wasn’t originally designed for 3D printing, so preparing your model correctly is crucial. In this comprehensive guide, we explore how to optimize SketchUp models for printing, avoid common pitfalls, and export with confidence.
Table of Contents
SketchUp for 3D Printing
SketchUp is known for its intuitive modeling environment, but with the right plugins and techniques, it can also produce print-ready 3D models. This involves working with solid geometry, applying tolerances, and using compatible export formats like STL and OBJ.
Whether you’re a beginner or a seasoned designer, mastering this workflow will save time, filament, and frustration.

Why Use SketchUp for 3D Printing?
- Ease of Use: SketchUp’s interface makes modeling accessible to all skill levels.
- Precision: With correct setup, SketchUp allows for mm-accurate designs.
- Customization: Perfect for unique, one-off parts and artistic creations.
- Plugin Ecosystem: Offers tools like STL export, solid checkers, and slicer compatibility.
If you’re familiar with SketchUp, you’re already halfway to successful 3D printing.
Setting Up Your SketchUp Workspace for 3D Printing
Before modeling anything for printing, make sure your SketchUp environment is configured properly:
- Choose the right template: Use “3D Printing – Millimeters” or “3D Printing – Inches”
- Set precision: Go to
Model Info > Unitsand select decimal places (e.g., 0.00 mm) - Disable length snapping: This avoids unintended misalignments during modeling
This ensures that what you see is what the printer will understand.
Best Practices for Modeling Printable Geometry
To create a print-ready object, your model must follow certain principles:
Make It a Solid Group or Component
A solid is defined as a closed volume with no holes, stray edges, or internal geometry.
- Use Entity Info to verify: it should say “Solid Group” or “Solid Component”
- Delete hidden lines, internal faces, and stray edges
- Close all gaps—no surface should be left open
Wall Thickness
Ensure your object has a minimum wall thickness that your printer can handle:
- For FDM: typically 1.2mm or greater
- For SLA: 0.5mm minimum (but always check your printer’s specs)
Avoid Thin Shells
Hollow models are great for saving material, but they must include:
- Internal wall thickness
- Escape holes (especially for resin printing)
- Properly sealed inner geometry
Using SketchUp Plugins for 3D Printing
These plugins streamline the process of preparing and exporting your model:
Solid Inspector² (by ThomThom)
Automatically scans for:
- Holes
- Internal faces
- Non-manifold geometry
Fixes issues with one click. A must-have.
CleanUp³
Removes redundant geometry and merges coplanar faces. Keeps your model efficient and slicer-friendly.
STL Exporter (by SketchUp Team)
Lets you export STL files directly from SketchUp Pro or Free (web version requires workaround).
To install:
Go to Extension Warehouse > Install STL Exporter
Ensuring Manifold Geometry
A 3D printable object must be manifold, meaning every edge belongs to exactly two faces. Non-manifold models confuse slicers and cause print failures.
Manifold Tips:
- Avoid “zero-thickness” faces
- Remove duplicated faces or edges
- Use Section Cuts to examine interior geometry
Pro Tip: Turn on X-Ray mode to inspect internal details.
Positioning Your Model for Export
Printers expect the model to be:
- Aligned with the origin (0,0,0)
- Oriented upright on the Z-axis
- Positioned above the ground plane
Group your model and move it so its base aligns with the red-green plane (XY plane). This is critical for ensuring the printer slices the model correctly.
Exporting for 3D Printing
How to Export to STL
- Ensure your model is a single solid group or component
- Go to
File > Export STL(after installing the STL Exporter) - Choose ASCII or Binary STL (Binary is smaller in file size)
- Select Units (match what you modeled in)
OBJ Format
For multicolor or texture-based prints, use OBJ. Note: not all printers or slicers support this format.
Plugins like SimLab OBJ Exporter can help.
Checking and Repairing STL Files
Even if SketchUp says your model is solid, slicers might still reject the file. Use tools like:
- Microsoft 3D Builder (Windows) – Free STL repair tool
- Meshmixer (Autodesk) – For analyzing, hollowing, and adding supports
- Netfabb Online Service – Free STL repair via browser
Always verify geometry before loading it into your slicer (e.g., Cura, PrusaSlicer).
Common Mistakes in SketchUp for 3D Printing
- Non-solid geometry: Unjoined edges, missing faces
- Inverted faces: Blue (backface) sides pointing outward can confuse slicers
- Too much detail: Tiny details can fail to print on small-scale objects
- Incorrect scale: Always check dimensions before exporting
Tip: Use Tape Measure Tool frequently to verify critical dimensions.
Designing for Print Orientation
Orientation affects print quality and strength.
- Minimize Overhangs: Reduces need for support material
- Consider Layer Lines: For strength, align layers perpendicular to stress points
- Avoid Floating Geometry: Everything must be connected to the main structure
Test different orientations in your slicer to find the optimal setup.
Using Supports and Rafts
SketchUp doesn’t generate supports—your slicer does. However, you can model your own if you want control.
- Add breakaway tabs or built-in supports
- Leave a 0.3mm clearance between support and model for easy removal
- For SLA, ensure escape holes are large enough for uncured resin to drain
Designing Assemblies and Interlocking Parts
Want to 3D print parts that snap together or rotate?
- Use tolerances: Leave a 0.2–0.4mm gap between moving parts
- Model pins and sockets with chamfers for easy alignment
- Ensure assemblies can be printed in separate, support-free orientations
SketchUp’s Component system makes it easy to test fits virtually.
3D Printing Templates and Libraries for SketchUp
Save time with:
- Thingiverse – Download STL files and model ideas
- 3D Warehouse – Import mechanical parts, enclosures, or base shapes
- McMaster-Carr – Engineering components in 3D formats
These can serve as reference or be modified to suit your custom design.
Example Projects to Try with SketchUp and 3D Printing
- Custom phone stand
- Mechanical gear
- Architectural house model
- 3D letters for signage
- Puzzle box or enclosure
Start small, learn tolerances, and work your way up to complex multipart systems.
FAQs
Can I use the free version of SketchUp for 3D printing?
Yes, but you’ll need to install STL exporters or use online converters.
What is a solid model in SketchUp?
A watertight, enclosed geometry with no gaps, internal faces, or stray edges.
Why does my 3D print fail even if SketchUp says it’s a solid?
Hidden geometry issues may still exist. Always inspect with Solid Inspector and external tools.
What’s the best file format to export from SketchUp for 3D printing?
STL (binary) is the most commonly accepted format for FDM printers.
Can I print moving parts from SketchUp?
Yes, but model them as separate components with built-in clearances.
What’s the best plugin for checking 3D printability in SketchUp?
Solid Inspector² and CleanUp³ are the top choices.
Conclusion: SketchUp + 3D Printing = Infinite Possibilities
SketchUp for 3D printing is a powerful combination that empowers hobbyists, designers, and engineers to go from concept to reality faster than ever. With the right practices—solid geometry, correct scale, and STL-friendly exports—you’ll unlock the full potential of your 3D printer.
So next time you’re sketching out an idea, think bigger. Think printable.

