

As climate change intensifies and cities expand, managing stormwater sustainably is more important than ever. Enter the rain garden—a beautiful, eco-friendly landscape feature that reduces runoff, filters pollutants, and supports native biodiversity. While traditionally planned with 2D sketches and spreadsheets, SketchUp for rain garden design introduces a new era of precision and visualization.
This guide will walk you through planning, modeling, and presenting rain gardens using SketchUp, covering everything from terrain modeling to planting plans and hydrological analysis.
Table of Contents
Rain Garden Design with SketchUp
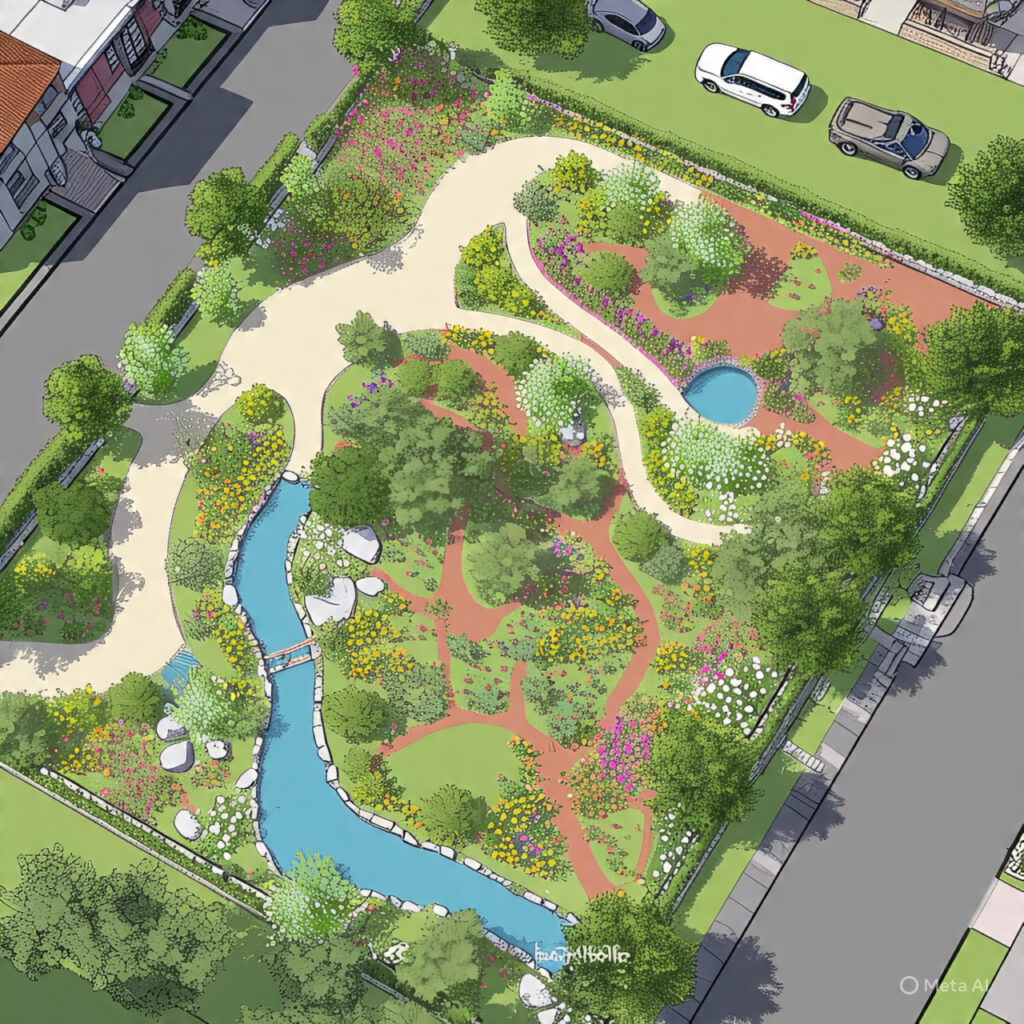
Rain garden design in SketchUp refers to the process of modeling vegetated depressions that collect, filter, and infiltrate stormwater. These models help you:
- Analyze slope and terrain
- Design plant zones
- Simulate water flow
- Visualize layers and soil composition
- Create detailed, construction-ready visuals
Used by landscape architects, stormwater engineers, urban designers, and municipal planners, SketchUp simplifies collaboration between disciplines on green infrastructure projects.
Why Use SketchUp for Rain Garden Design?
✅ Terrain modeling tools for contouring basins and slopes
✅ Visual communication of water flow and infiltration
✅ Component-based planting for quick replication
✅ Plugins for cut/fill analysis and plant distribution
✅ Presentations using LayOut, Scenes, and Animations
SketchUp turns dry hydrology into compelling visuals that inspire action and understanding.
Step-by-Step: Planning a Rain Garden in SketchUp
Step 1: Site Analysis
Import or draw:
- Topographic lines (via DWG, DXF, or Google Earth)
- Existing features like sidewalks, buildings, and curbs
- Impervious surfaces that contribute runoff
Use Geo-location for accurate solar and rainfall analysis.
Step 2: Modeling Terrain
Use Sandbox Tools or the TopoShaper plugin to convert contour lines into 3D terrain.
- Simulate natural slopes
- Cut into terrain to model the rain garden depression
- Use Push/Pull or Stamp Tool to define berms, inlets, and overflow paths
Ensure basin slopes are between 5–12% for optimal infiltration.
Step 3: Define Infiltration Basin Zones
Design layers with different depth and vegetation:
| Zone | Function | Typical Plants |
|---|---|---|
| Ponding Zone | Temporary water collection | Sedges, rushes, iris |
| Middle Zone | Occasional moisture | Coneflowers, goldenrod |
| Outer Zone | Mostly dry | Native grasses, yarrow |
Color-code zones and apply Tags for easy editing and visibility control.
Step 4: Model Stormwater Flow
Use Section Planes to simulate:
- Entry points for runoff (roof drains, street curbs)
- Overflow paths
- Infiltration areas and percolation routes
For complex projects, export terrain to HydroCAD, EPA SWMM, or QGIS for flow simulations.
Step 5: Design Planting Plan
Use Components or import native plant models from:
- 3D Warehouse
- SketchUp Texture Club
- Custom-made symbols with low polygon counts
Organize plants into:
- Native wetland groups
- Pollinator-friendly beds
- Low-maintenance ground covers
Use Skatter plugin to distribute plants by density, zone, or species.
Step 6: Materials and Layering
Apply textures for:
- Mulch
- River rock
- Soil types
- Bioswale filters
Use Layering and Tags to represent:
- Soil profile
- Drain rock
- Underdrains and pipes
- Overflow structures
These details help with construction documentation and contractor coordination.
Incorporating Stormwater Elements
SketchUp supports the integration of key infrastructure:
- Inflow drains: Modeled as catch basins or curb cuts
- Overflow pipes: Represented with solid cylinders or tubes
- Underdrain systems: Layered beneath soil using cross-sectional Scenes
- Pretreatment zones: Modeled with gravel forebays or swales
Add notes and dimensions using LayOut for field-ready documentation.
Using SketchUp Plugins for Stormwater and Landscape Analysis
| Plugin | Purpose |
|---|---|
| TopoShaper | Model terrain from contours |
| Skatter | Distribute plants and rocks realistically |
| Profile Builder | Add curbs, paths, and structural edges |
| Eneroth Terrain Volume | Analyze cut and fill for basin grading |
| Curic Section | Enhanced section cut visualization |
These tools help bridge technical function with visual storytelling.
Creating Construction Documents for Rain Gardens
Using LayOut, generate:
- Plan views with plant legends
- Sections showing layers and depth
- Notes for excavation and soil amendments
- Quantity takeoffs for plants and materials
Use Scenes to update your documentation as the design evolves.
Client and Public Engagement with SketchUp
Rain gardens are new to many clients and communities. Use SketchUp to:
- Create before-and-after views
- Render images with Enscape or Lumion
- Walk stakeholders through designs with Scenes and Animations
- Show impact using sun/shadow studies for plant health and shade
Clients appreciate seeing beauty + function in action.
Case Study: Rain Garden in an Urban Parking Lot
- Problem: Runoff from asphalt causing flooding and erosion
- Solution: Design a vegetated swale and two-tiered rain garden
- SketchUp Tools Used:
- Terrain modeling with TopoShaper
- Flow arrows and water depth layers
- Native plant groups using Skatter
- LayOut sheets for contractor
Outcome: Full build completed under budget, praised by the city for green infrastructure.
Common Mistakes to Avoid in Rain Garden Modeling
❌ Ignoring terrain elevation changes
❌ Using non-native or water-sensitive plant models
❌ Not showing overflow paths
❌ Overcomplicating model geometry (keep it light)
❌ Skipping construction layers (gravel, underdrains)
FAQs
Can SketchUp simulate actual water flow?
No, but you can visually simulate it. For quantitative analysis, export to GIS or hydrology tools.
What is the ideal slope for a rain garden in SketchUp?
5%–12% for side slopes, with a flat or gently sloped bottom to allow infiltration.
Can I use SketchUp Free for this?
Yes, for basic modeling. For plugins and LayOut documentation, you’ll need SketchUp Pro.
Where can I find rain garden plant models?
Check 3D Warehouse, regional native plant guides, or create simple 2D symbols for overhead views.
Does SketchUp help with stormwater compliance?
Indirectly. It helps visualize and communicate stormwater design effectively, which supports approvals and public education.
Can I export my rain garden model to contractors?
Yes, export 2D plans via LayOut or share 3D models in .SKP, .DWG, or .PDF.
Conclusion: Design Resilience with SketchUp Rain Gardens
Rain gardens are more than just functional—they’re beautiful, resilient, and environmentally transformative. With SketchUp for rain garden design, you gain the tools to combine landscape ecology, urban design, and public outreach in one powerful visual model.
Whether you’re planning a neighborhood retrofit, campus bioswale, or backyard basin, SketchUp helps you plan, pitch, and plant smarter.