

Introduction
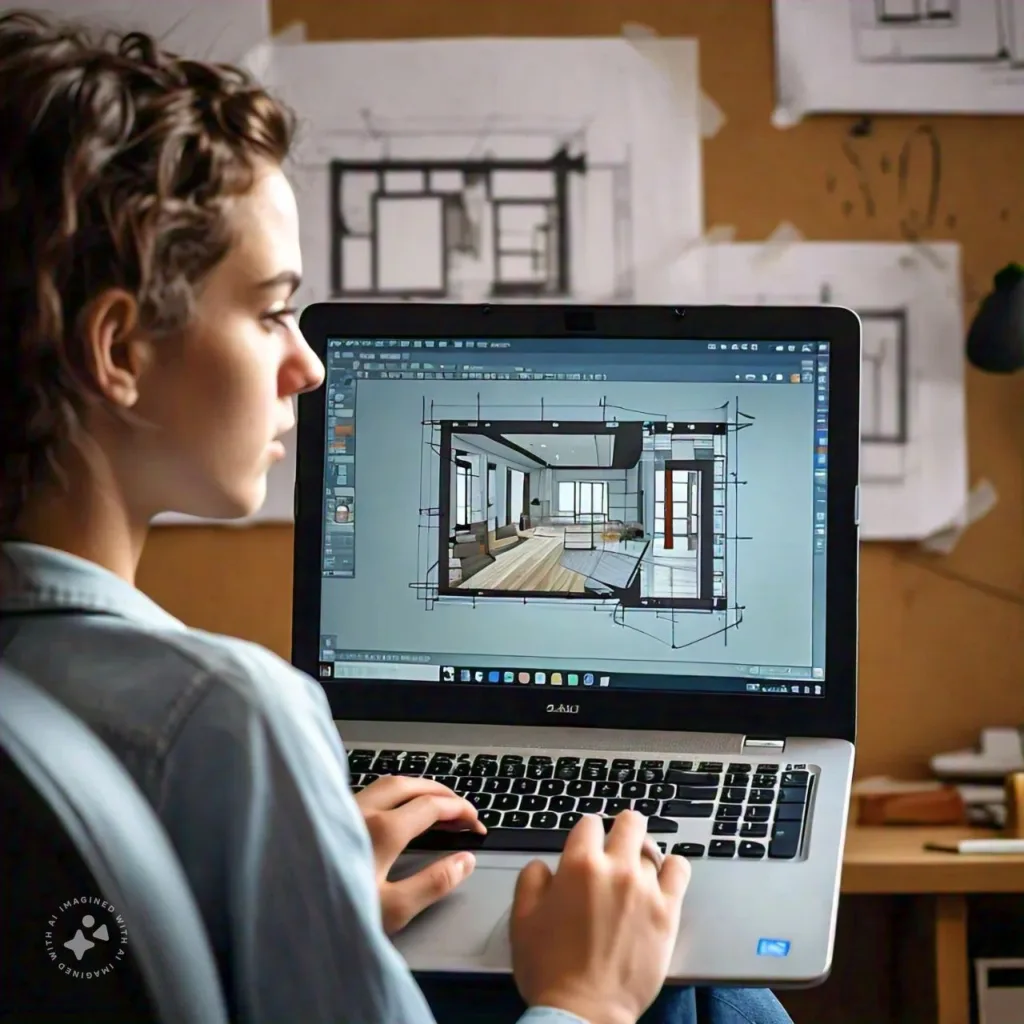
AutoCAD is a powerful tool widely used in the design industry, including interior design. Its precision, versatility, and comprehensive feature set make it an ideal choice for creating detailed and professional interior design plans. Whether you’re working on space planning, furniture layouts, or detailed elevations, AutoCAD provides the tools necessary to bring your design ideas to life. This article offers a comprehensive guide on how to use AutoCAD for interior design projects, covering key techniques and best practices for space planning and furniture layouts.
Table of Contents
Why Use AutoCAD for Interior Design?
AutoCAD is favored by interior designers for several reasons:
- Precision: AutoCAD allows for precise measurements and alignments, essential for creating accurate interior design plans.
- Customization: You can customize your workspace, tools, and templates to suit the specific needs of interior design projects.
- Professional Output: AutoCAD enables the creation of professional-grade drawings that can be easily shared with clients, contractors, and other stakeholders.
- Versatility: From 2D floor plans to 3D visualizations, AutoCAD covers a wide range of design tasks.
Getting Started with AutoCAD for Interior Design
Setting Up Your Workspace
Before diving into a project, it’s important to set up your AutoCAD workspace to optimize your workflow for interior design tasks.
- Choose the Right Workspace: AutoCAD offers different workspaces tailored to specific tasks. For interior design, the Drafting & Annotation workspace is a good starting point, as it provides tools for creating detailed 2D plans.
- Customizing Tool Palettes: Customize your tool palettes to include commands and tools you use frequently in interior design, such as dimensioning, hatching, and layer management.
- Setting Up Layers: Organize your drawing by setting up layers for different elements, such as walls, doors, furniture, and electrical. This makes it easier to manage and edit different aspects of your design.
Creating a Floor Plan
A floor plan is the foundation of any interior design project. It provides a bird’s-eye view of the space, showing the layout of walls, doors, windows, and other structural elements.
- Start with Accurate Measurements: Begin by importing or drawing the basic outline of the space. If you’re working from a site survey, ensure that all measurements are accurate and reflect the actual dimensions of the space.
- Drawing Walls: Use the
LINEorPLINEcommands to draw walls. For thicker walls, you can use theOFFSETcommand to create parallel lines, representing the wall thickness. - Adding Doors and Windows: Insert doors and windows using blocks or the
DOORandWINDOWcommands. Place these elements accurately by using Object Snaps (OSNAP) to align them with the walls. - Labeling Rooms: Use the
TEXTorMTEXTcommands to label each room. Make sure to use consistent fonts and sizes to maintain a professional appearance.
Space Planning in AutoCAD
Space planning is a critical part of interior design, involving the arrangement of furniture, fixtures, and fittings to ensure the space is functional and aesthetically pleasing.
Creating a Furniture Layout
Furniture layouts involve placing furniture elements within the floor plan to optimize space usage and flow.
- Using Furniture Blocks: AutoCAD’s block feature is ideal for creating and managing furniture layouts. Blocks are reusable objects that can be inserted into the drawing multiple times without increasing file size significantly.
- Importing Furniture Blocks: You can find a wide range of pre-made furniture blocks online or create your own. To insert a block, use the
INSERTcommand and place the furniture pieces in the appropriate locations within your floor plan. - Arranging Furniture: Use the
MOVE,ROTATE, andMIRRORcommands to position furniture accurately. Snap to grid or use Ortho Mode (F8) to maintain alignment with walls and other elements. - Maintaining Proportions: Ensure that furniture blocks are drawn to scale. This is crucial for accurately representing how the furniture will fit within the space.
Working with Circulation Paths
Circulation paths are the clear pathways that allow movement through a space. Effective space planning ensures that these paths are unobstructed and intuitive.
- Defining Circulation Areas: Use the
HATCHcommand to shade areas designated as circulation paths. This helps visualize the flow of movement within the space. - Checking Accessibility: Ensure that all essential areas, such as exits and entrances, are easily accessible. Use the
DISTcommand to measure distances between key points, ensuring that circulation paths meet any required accessibility standards.
Detailing with Dimensions and Annotations
Dimensions and annotations provide essential information about your design, ensuring that your intentions are clear to clients, contractors, and other stakeholders.
Dimensioning Your Drawing
AutoCAD’s dimensioning tools allow you to add measurements directly to your drawing, which is crucial for conveying the exact size and scale of the design elements.
- Using the Dimension Tool: Access the dimensioning tools from the Annotate tab. Use
DIMLINEARfor horizontal or vertical measurements, andDIMDIAMETERorDIMRADIUSfor circular objects. - Placing Dimensions: Place dimensions close to the objects they relate to, but ensure they do not overlap or clutter the drawing. Consistency in dimension placement improves the clarity of your design.
- Editing Dimension Styles: Customize dimension styles to match your design standards. Use the
DIMSTYLEcommand to adjust settings such as text size, arrowhead style, and unit precision.
Adding Annotations
Annotations provide additional information about the elements in your drawing, such as material specifications, notes on finishes, or installation instructions.
- Using Text: Use the
TEXTorMTEXTcommands to add annotations. Multi-line text (MTEXT) is ideal for longer notes or detailed explanations, while single-line text (TEXT) is better for labels or short notes. - Leaders and Callouts: Use the
MLEADERcommand to create leaders or callouts that point to specific elements in your drawing. This is particularly useful for identifying furniture, fixtures, or areas that require special attention.
Visualizing Your Design in 3D
While 2D drawings are essential for detailed planning, 3D visualizations help clients and stakeholders better understand the design.
Creating 3D Models
AutoCAD allows you to create 3D models from your 2D drawings, providing a more complete view of the design.
- Extruding Walls and Furniture: Use the
EXTRUDEcommand to give your walls and furniture height, transforming them from 2D shapes into 3D objects. - Building Detailed Models: For more complex elements like custom furniture or detailed architectural features, use advanced 3D modeling commands like
LOFT,SWEEP, andREVOLVE.
Applying Materials and Lighting
Materials and lighting add realism to your 3D models, making them more effective for presentations.
- Using the Material Browser: Apply realistic materials to your 3D objects using the Material Browser, accessible from the Visualize tab. Select materials that match your design specifications, such as wood, metal, or fabric.
- Setting Up Lighting: Use the Lighting tools in the Visualize tab to simulate real-world lighting conditions. This helps you understand how natural and artificial light will interact with your design.
Rendering Your Model
Rendering creates a photorealistic image of your 3D model, which can be used in client presentations or marketing materials.
- Setting Up a Render: Use the Render panel in the Visualize tab to set up your rendering options. Choose the desired resolution, lighting quality, and materials.
- Exporting the Render: Once the render is complete, export it in your preferred image format (e.g., JPEG, PNG) for use in presentations or documentation.
Finalizing Your Design
Before finalizing your design, it’s important to review all aspects of your AutoCAD drawing to ensure accuracy and completeness.
Conducting a Final Review
- Check for Errors: Use the
AUDITandPURGEcommands to check your drawing for errors and remove any unnecessary elements, ensuring that your file is clean and efficient. - Layer Management: Review your layers to make sure they are correctly organized and named. This makes the drawing easier to navigate and edit, especially for other team members.
- Print Preview: Use the Print Preview function to see how your drawing will appear on paper. Check that all dimensions, annotations, and layout elements are clear and legible.
Exporting and Sharing Your Design
- Creating PDFs: Export your AutoCAD drawing as a PDF for easy sharing with clients and contractors. Use the
EXPORTPDFcommand to generate high-quality, scalable PDFs. - Sharing DWG Files: If collaborating with other designers or engineers, share your DWG files directly. Ensure that all external references (Xrefs) are properly attached and paths are correct.
Suggested – AutoCAD for 3D Modeling
Conclusion
AutoCAD is an invaluable tool for interior designers, offering the precision, versatility, and professional output needed to bring complex design projects to life. Whether you’re working on space planning, furniture layouts, or detailed 3D visualizations, AutoCAD provides the tools and features necessary to achieve outstanding results. By mastering the techniques outlined in this guide, you can enhance your interior design workflow, create more accurate and appealing designs, and deliver exceptional results for your clients.
FAQs
- How do I create a floor plan in AutoCAD?
Start by drawing the basic outline of the space using accurate measurements. Use theLINEorPLINEcommands to draw walls and theOFFSETcommand for wall thickness. Add doors, windows, and other structural elements using blocks or specific commands. - Can AutoCAD be used for 3D interior design?
Yes, AutoCAD supports 3D modeling, allowing you to create detailed 3D models of interior spaces, complete with furniture, materials, and lighting. - How do I add furniture to my AutoCAD drawing?
Use theINSERTcommand to add furniture blocks to your drawing. Position them accurately using theMOVE,ROTATE, andMIRRORcommands, and ensure they are drawn to scale. - What is the best way to ensure accuracy in AutoCAD interior design?
Use the Grid, Snap, and Ortho modes to ensure that your drawings are precise. Additionally, consistently use layers, dimension tools, and Object Snaps (OSNAP) to maintain accuracy throughout your project. - How do I create a 3D model from a 2D floor plan in AutoCAD?
Use theEXTRUDEcommand to give height to your 2D walls and furniture. Build additional details using 3D modeling commands likeLOFT,SWEEP, andREVOLVE.