Introduction
Elevations are an essential part of architectural documentation, offering detailed views of a building’s façade or interior walls. In Revit, creating and managing elevation views is streamlined, leveraging its Building Information Modeling (BIM) capabilities to ensure accuracy and consistency. This guide provides a step-by-step approach to creating and managing building elevations in Revit, including tips for customization and documentation.
Table of Contents
What Are Elevation Views in Revit?
An elevation view is a projection of a building’s vertical surface, showcasing elements like windows, doors, walls, and finishes. Elevations can represent exterior façades or interior wall details and are automatically linked to the 3D model for dynamic updates.

Key Features:
- Dynamic Views: Changes to the model update elevation views automatically.
- Customizable Graphics: Control detail levels, line weights, and materials.
- Scalable Outputs: Adjust scales for construction documentation or presentation purposes.
How to Create Elevations in Revit
1. Adding Elevation Markers
Elevation markers define the direction and scope of the elevation view.
Steps:
- Open a floor plan view.
- Go to View Tab > Create Panel > Elevation or use the shortcut “EL”.
- Click to place the elevation marker near the desired building façade or interior wall.
- Drag the marker’s arrows to adjust the view direction and range.
Pro Tip: Name your elevation views systematically, such as North Elevation, South Elevation, or Living Room Elevation for easy identification.
2. Navigating to the Elevation View
After placing the marker, you can open the elevation view to refine it.
Steps:
- Locate the elevation view in the Project Browser under Elevations (Building or Interior).
- Double-click the elevation name to open the view.
Pro Tip: Use the View Cube to quickly navigate between elevations in 3D views.
3. Adjusting the Crop Region
Crop regions define the visible area of the elevation view, allowing you to focus on specific parts of the building.
Steps:
- Select the crop boundary in the elevation view.
- Drag the grips to resize the visible area.
- Use Visibility/Graphics Settings (shortcut: VG) to hide or display elements outside the crop region.
Example: Crop the elevation to show only the main entrance or a single wall.
Customizing Elevation Views
1. Setting Detail Levels
Revit allows you to control the amount of detail visible in elevation views.
Detail Levels:
- Coarse: Simplified representation, ideal for conceptual design.
- Medium: Moderate detail for general documentation.
- Fine: High detail for construction drawings and material specifications.
How to Apply:
- Open the elevation view.
- Use the Detail Level Selector in the View Control Bar to set the desired level.
2. Applying Visual Styles
Enhance the appearance of elevation views by applying different visual styles.
Common Styles:
- Hidden Line: Simplified linework without color or shading.
- Shaded: Adds basic colors and shading to the view.
- Realistic: Displays materials with textures and lighting for presentations.
How to Apply:
- Open the elevation view.
- Use the Visual Style drop-down menu in the View Control Bar.
Pro Tip: Combine realistic visual styles with annotations for client presentations.
3. Adding Annotations and Dimensions
Annotations and dimensions are crucial for communicating design intent in elevation views.
Steps:
- Use the Annotate Tab to add text, dimensions, and tags.
- Align dimensions to key elements like windows, doors, and wall edges.
- Add material tags to specify finishes, such as brick, stucco, or paint.
Example: Annotate a window elevation with dimensions for height, width, and sill level.
Using Elevation Views for Specific Applications
1. Exterior Elevations
Exterior elevations provide a detailed view of the building’s façade.
Applications:
- Show window and door placements.
- Highlight materials and finishes for walls and roofs.
- Annotate roof slopes and overhangs.
Example: Create a South Elevation to illustrate a building’s main entrance and landscaping.
2. Interior Elevations
Interior elevations focus on the vertical surfaces of rooms or spaces.
Applications:
- Detail kitchen cabinetry, wall finishes, and fixtures.
- Provide dimensions for tile layouts or paneling.
- Annotate electrical outlets, switches, and lighting.
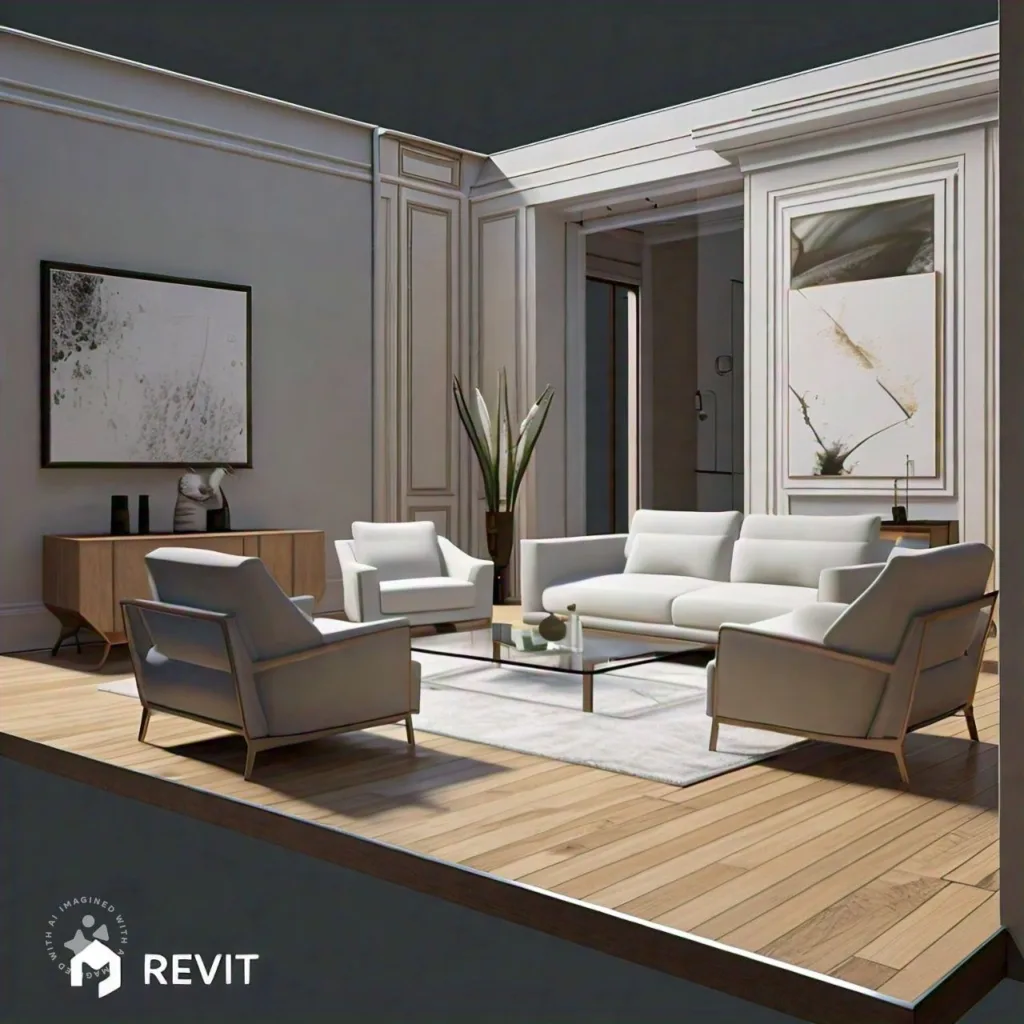
Example: Create a Living Room Elevation to show fireplace details, wall-mounted lighting, and artwork.
Managing Elevation Views
1. Organizing Views in the Project Browser
Group elevation views logically to streamline navigation and documentation.
Steps:
- Right-click Elevations in the Project Browser.
- Create subfolders for categories like Exterior and Interior.
- Drag and drop views into the appropriate folders.
Pro Tip: Use consistent naming conventions, such as Room Name + Orientation (e.g., Kitchen – North Elevation).
2. Using View Templates
View templates standardize the appearance of elevation views across the project.
Steps:
- Go to View Tab > Graphics Panel > View Templates.
- Select or create a template with predefined settings for scale, detail level, and visual style.
- Apply the template to all relevant elevation views.
Tips for Creating Effective Elevation Views
- Plan Marker Placement: Place elevation markers strategically to capture the most relevant details.
- Use Consistent Scales: Apply consistent scales across elevation views for clarity in documentation.
- Highlight Key Features: Focus on unique architectural elements, such as feature walls or decorative trims.
- Incorporate Color Fills: Use color fills to differentiate materials or highlight specific areas.
- Test Visibility Settings: Adjust visibility/graphics settings to ensure all necessary elements are displayed.
Benefits of Elevation Views in Revit
- Accuracy: Dynamic updates ensure all elevations reflect the latest design changes.
- Efficiency: Automated tools simplify the creation and customization of elevations.
- Visualization: Realistic visual styles improve communication with clients and stakeholders.
- Documentation: Elevations provide detailed information for construction teams.
- Integration: Seamless linking with floor plans, sections, and 3D models enhances project coordination.
Common Challenges and Solutions
- Cluttered Views:
- Solution: Use crop regions and detail levels to simplify the view.
- Misaligned Elements:
- Solution: Adjust levels, grids, and reference planes to ensure alignment.
- Inconsistent Graphics:
- Solution: Apply view templates for uniform appearance.
FAQs
- How do I create an elevation view in Revit?
Use the Elevation Tool in the View Tab to place markers and define the view direction. - Can I adjust the range of an elevation view?
Yes, use the crop region to limit the visible area of the elevation. - How do I make elevation views consistent across a project?
Apply view templates to standardize settings like scale, detail level, and visual style. - What’s the difference between exterior and interior elevations?
Exterior elevations show building façades, while interior elevations focus on room-specific vertical surfaces. - Can I use elevations for presentations?
Yes, enhance elevations with realistic visual styles, annotations, and materials for client presentations.

